What Is the Best Mounting Height for Outdoor Wall Lights
 FACEBOOK
 TWITTER
 LINKEDIN
Determining the ideal mounting height for your outdoor wall lights is a technical decision that bridges the gap between architectural beauty and functional safety. In a professional outdoor lighting scheme, height is the primary factor controlling how far the light travels and how it interacts with the human eye. If a fixture is placed too high, the light distribution may dissipate before reaching the ground, leaving pathways in shadow; if placed too low, the direct glare can become a significant source of visual discomfort. By finding the “sweet spot”—typically aligned with human sightlines and door frames—you ensure that your exterior remains welcoming and navigable.
The purpose of the illumination also dictates the vertical placement. Security-focused lighting often requires a higher elevation to maximize the spread of light across a driveway or yard, whereas ambient or decorative lighting thrives at a more intimate, eye-level position. Residential spaces require a nuanced approach that considers the viewing angles of residents and guests alike. By evaluating your home’s unique architecture and the specific tasks each light must perform, you can create a layout that enhances curb appeal while providing reliable, glare-free performance. Ultimately, proper height planning ensures that your lighting feels like an intentional, integrated part of your home’s design.
Why mounting height matters for outdoor wall lights
Vertical positioning is the “programming” for how a light fixture interacts with its environment. Installation height directly influences the perceived brightness of the lamp; a light mounted closer to a surface will appear more intense than one casting light from a distance. This is a critical consideration for visual comfort, as the goal is to provide clarity for movement without creating “hot spots” that distract the eye or ruin the nighttime atmosphere of your garden.
Furthermore, the lighting impact is deeply tied to the home’s architecture. Fixtures that are placed without regard for the lines of windows, doors, and gables can look cluttered and unplanned. By coordinating the height with your home’s structural features, you ground the light in the design. This synergy ensures that the lighting highlights the home’s texture and form rather than working against it, providing a professional and balanced look that stands up to both daytime and nighttime scrutiny.
How sightlines influence the best height for wall lights
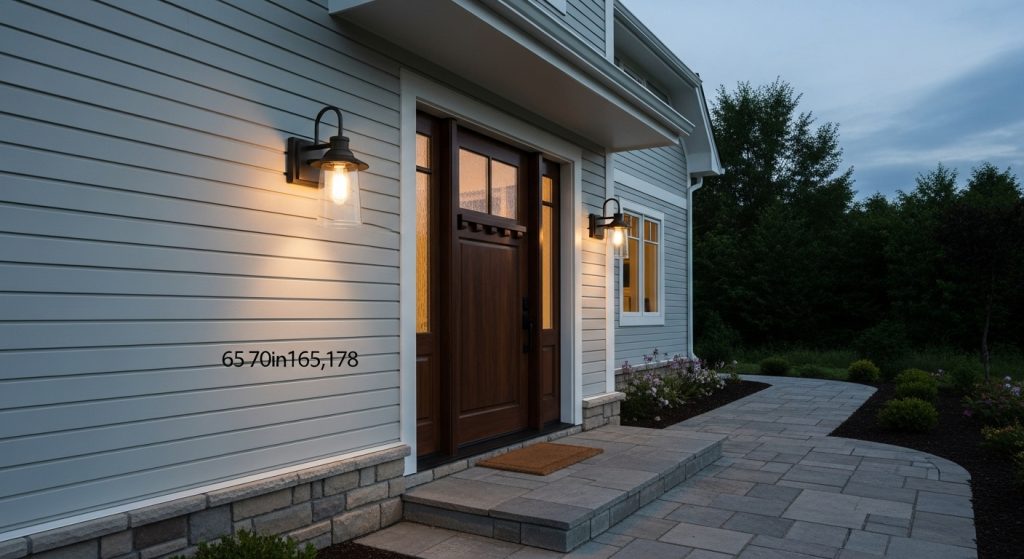
The most important rule in residential lighting is to protect the user’s viewing angle. For most adults, the average eye level is roughly 60 to 66 inches above the ground. If an unshielded bulb is placed exactly at this height, it creates aggressive glare that makes it difficult to see the path ahead. Consequently, the best pathway lighting strategy often involves mounting the center of the light source just at or slightly below eye level if the fixture is shielded, or slightly higher if the light is directed strictly downward.
When aligning fixtures near entrances, you should also consider the eye-level comfort of people both inside and outside the house. A light that looks perfect from the sidewalk might shine directly into a bedroom window if the height isn’t vetted during the planning phase. By coordinating the fixture’s position with the door’s top casing—usually about three-quarters of the way up the door—you create a natural visual transition that feels intuitive and safe for anyone approaching the home.
How the purpose of lighting changes ideal mounting height
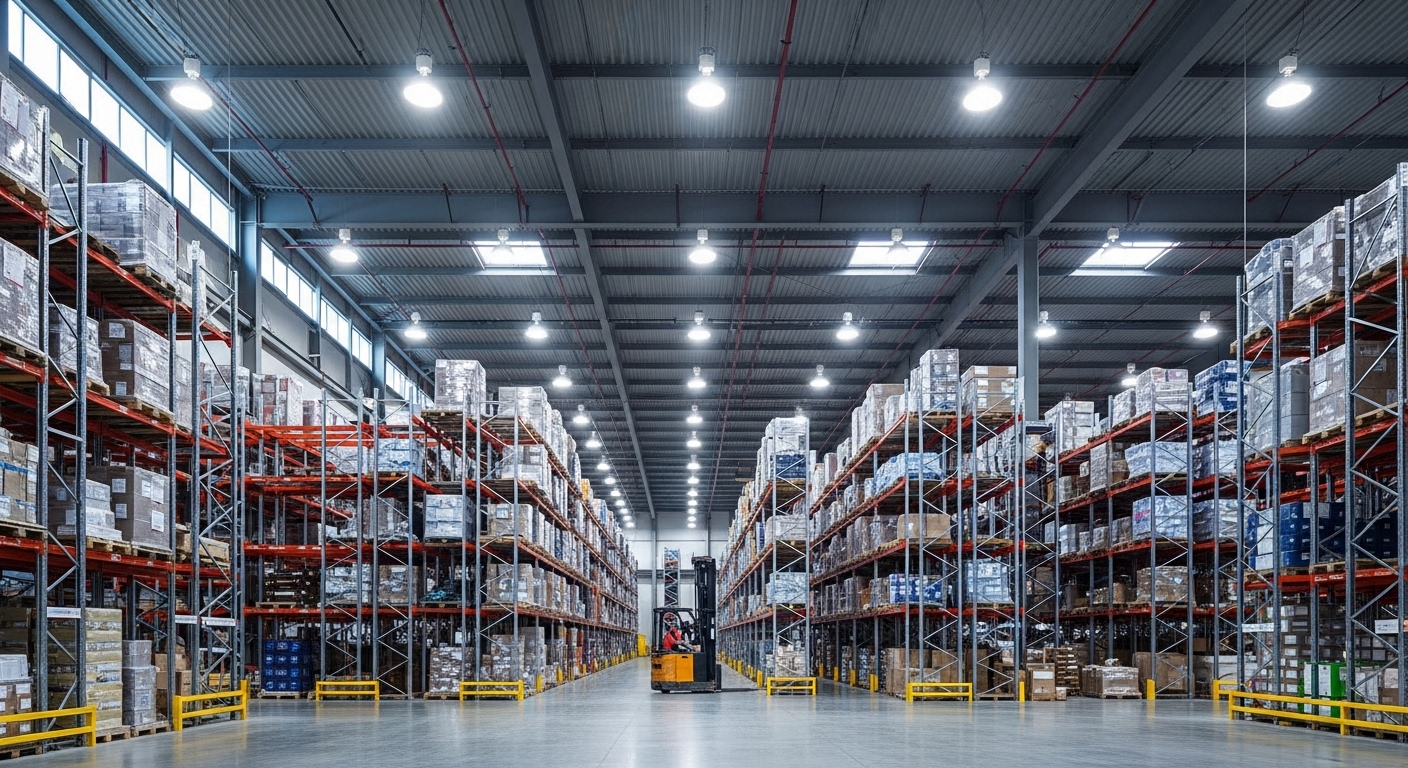
The “why” of your project should always dictate the “where.” For security lighting, a higher mount (typically 7 to 9 feet) is often preferred. This elevated position allows the light to cover a much wider footprint, eliminating dark corners where intruders could hide. At this height, the goal is functional placement that prioritizes broad visibility over decorative intimacy, ensuring that cameras and human eyes can monitor the entire perimeter effectively.
Conversely, ambient lighting intended for a patio or social area thrives at a lower, more intimate height. Placing lights around 5 to 6 feet creates a “living room” feel outdoors, providing enough light for conversation without the industrial vibe of high-mounted lamps. For task-oriented zones, such as near a barbecue or a side gate, the light should be placed specifically to illuminate the working surface, often requiring a mid-level mounting that prevents your own body from casting a shadow on the task at hand.
How height affects light distribution and shadow patterns
The relationship between height and light spread is governed by the angle of the beam. A fixture mounted high on a facade will cast a “wash” of light that reaches further across the lawn, but the intensity on the wall itself will be softer. If you are looking to emphasize wall texture—such as rugged stone or intricate brickwork—a lower mount allows the light to “graze” the surface, creating deep, dramatic shadow effects that add architectural interest.
This interplay is what creates depth in a landscape. By varying the heights of your wall lights, you can “paint” your home with different intensities. High-mounted lights handle the general safety, while lower-mounted accents highlight the features. This layered approach prevents the “flat” look that occurs when every light is at the same level. By mastering how height influences the shadow path, you turn a simple lighting task into a sophisticated design tool.
How different fixture styles influence height decisions
The physical fixture design is a major variable in the height equation. For example, “up-and-down” lights or vertical pillar light styles often require a central mounting point that accounts for both the upward and downward beams. If these are mounted too high, the upward beam might be lost into the soffits; if too low, the downward beam won’t reach the floor effectively. Perforated lighting designs, which filter light through patterns, are particularly height-sensitive because the pattern’s clarity depends on the distance to the surface it hits.
Decorative diffusers and frosted glass fixtures are generally more comfortable when mounted slightly higher, as they emit light in all directions. Strictly directional downlights, however, can be mounted lower because the light source is hidden from the direct line of sight. By matching the height to the style—ensuring that perforated patterns are at eye level for beauty and downlights are positioned for safety—you maximize the technical and aesthetic strengths of each unique fixture in your collection.
How outdoor conditions impact mounting height choices
Environmental exposure is a practical constraint that often gets overlooked. In areas with high rainfall, mounting fixtures too low can expose them to “splash zones,” where mud and water rebounding from the ground can coat the lens and degrade the seals. High-quality weather protection is essential, but placing the light 6 inches higher can often move it out of the primary dirty-water zone, significantly reducing your maintenance needs over time.
Local outdoor conditions, such as high winds or heavy snow, should also be considered. In regions with deep snowpacks, lights mounted at 4 feet may be buried for half the year, rendering them useless for safety. Conversely, in very windy coastal areas, higher-mounted lights face more mechanical stress. By evaluating the “micro-climate” of each wall on your property, you can choose a height that keeps the electronics dry and the light clear, ensuring that your investment survives the elements for many years.
What common mistakes people make with mounting height
One of the most frequent installation errors is the “runway effect,” where every light is mounted at exactly the same height regardless of the ground’s slope. This results in a visual imbalance that looks mechanical and cold. Another common blunder is mounting security lights too low; this creates long, blinding glares for drivers and deep, pitch-black shadows behind every shrub—the exact opposite of a secure environment.
Poor placement often stems from ignoring the “inside-out” view. Homeowners frequently mount lights in positions that look great from the street but create distracting reflections or glare when viewed from the living room. To avoid these blunders, you should always conduct a “dry run” with a portable light or flashlight at night. By visualizing exactly where the shadows fall and how the glare feels at different heights, you can ensure a professional result that prioritizes both safety and comfort.
Practical pointers for deciding the best height for your wall lights
Before you perform the final installation, a thorough planning guidance review ensures that your hardware is a perfect fit for its location. This installation checklist acts as a final safeguard to ensure your exterior remains bright and beautiful. By verifying your goals now, you can move forward with absolute confidence.
- Purpose Check: Is the light for security (Mount High) or ambiance (Mount Mid)?
- Eye-Level Audit: Will the light source cause glare for guests approaching the door?
- Architecture Sync: Does the height align with your door casing or window lines?
- Beam spread: Is the fixture high enough to light the entire width of the path?
- Texture Play: Is the light low enough to highlight the stone or wood grain of the wall?
- Weather Buffer: Is the light above the “splash zone” for easier maintenance?
- Inside View: Does the light placement avoid creating glare through your windows?
What outdoor wall and pillar lights use proper mounting height planning
Outdoor wall pillar residential lights refer to the primary residential lighting fixtures used on facades and boundaries. Proper height planning for these outdoor fixtures is the most critical step in ensuring a professional and safe nighttime environment. They anchor the architectural profile of your home while providing the necessary orientation for everyone on the property.
How metal LED wall lights perform at different height placements
The Outdoor metal LED wall light features a durable metal housing that excels at light distribution. Whether mounted high for security or low for accenting, these fixtures provide a stable, heat-managed environment for the LEDs. Their structural strength ensures that the light remains perfectly aligned at any height, offering a consistent and reliable glow through all seasons.
How perforated outdoor wall lamps influence glare at different heights
A Perforated wall lamp outdoor is specifically designed for glare control. By filtering light through patterns, perforated lighting achieves superior comfort even when mounted near eye level. This makes them a top choice for residential areas where safety and a relaxing atmosphere must go hand-in-hand, providing a decorative glow that is never aggressive.
How pillar lights fit into height planning for larger outdoor areas
Integrating a Metal LED pillar light into your plan provides essential zone lighting. These pillar fixtures act as mid-level anchors that bridge the gap between low path lights and high wall lamps. By coordinating their height with your wall-mounted units, you create a multi-layered effect that expands the perceived size and security of your property.
How landscape elements like trees affect mounting height choices
A LED tree light landscape unit requires careful height coordination with your wall lights. In a professional landscape lighting plan, the height of your wall lights should not compete with the dramatic uplighting on your trees. By balancing these vertical layers, you create a deep, immersive environment where the house and garden work together as a single, well-lit sanctuary.


- 10 Meters Lamp Post
- 10 Meters Pole
- 1000w Led Projector
- 100W LED Tunnel Light
- 12 Meters Lamp Post
- 12 Meters Pole
- 1200w Led Projector
- 15 Light Pole
- 1500w Led Projector
- 150W LED Tunnel Light
- 1800w Led Projector
- 2 In 1 Solar Flood Light
- 200w Led Tunnel Light
- 50w Led Tunnel Light
- 6 Meters Lamp Post
- 6 Meters Pole
- 8 Meters Lamp Post
- 8 Meters Pole
- 800w Led Projector
- 80w Led Tunnel Light
- Colourful Decorative Light
- Conical post
- Courtyard Lamp
- courtyard light
- courtyard lighting fixture
- Decorative Landscape Light
- Decorative road Light
- Flood Light For Courtyard
- Flood Light for Garden
- Flood Light For Outdoor
- Foot Led High Bay Lights
- high bay led lights 100w
- industrial lampshade
- industrial LED shed lights
- industrial magnifying glass with light
- Integrated Solar Flood Light
- led courtyard lamp
- led courtyard light
- led high bay light 100w
- LED Projector For Stadium
- Led UFO High Bay 150W 5000k
- Lighting Plants Mining Price
- Maintenance Free LED Street Light
- Pic Controlling Tunnel Light
- PLC controlling tunnel light
- Post Top Garden Light
- RGB Landscape Light
- Rgbw Decorative Light
- Smart Tunnel Light
- solar courtyard lamp
- solar courtyard light
- Solar LED Road Light
- Solar Street Light For 10 Meter Pole
- Solar Street Light For 12 Meter Pole
- Solar Street Light For 6 Meter Pole
- Solar Street Light For 8 Meter Pole
- Split Type Solar Flood Light
- Sporting Projector
- Stadium Led Projector
- Street Lighting Post