how to landscape lighting
 FACEBOOK
 TWITTER
 LINKEDIN
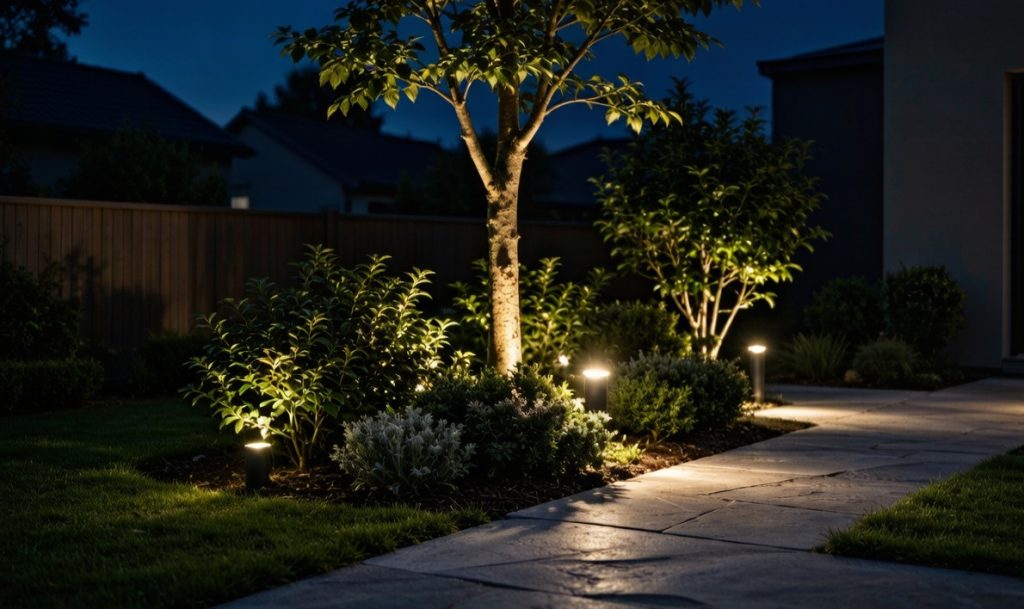
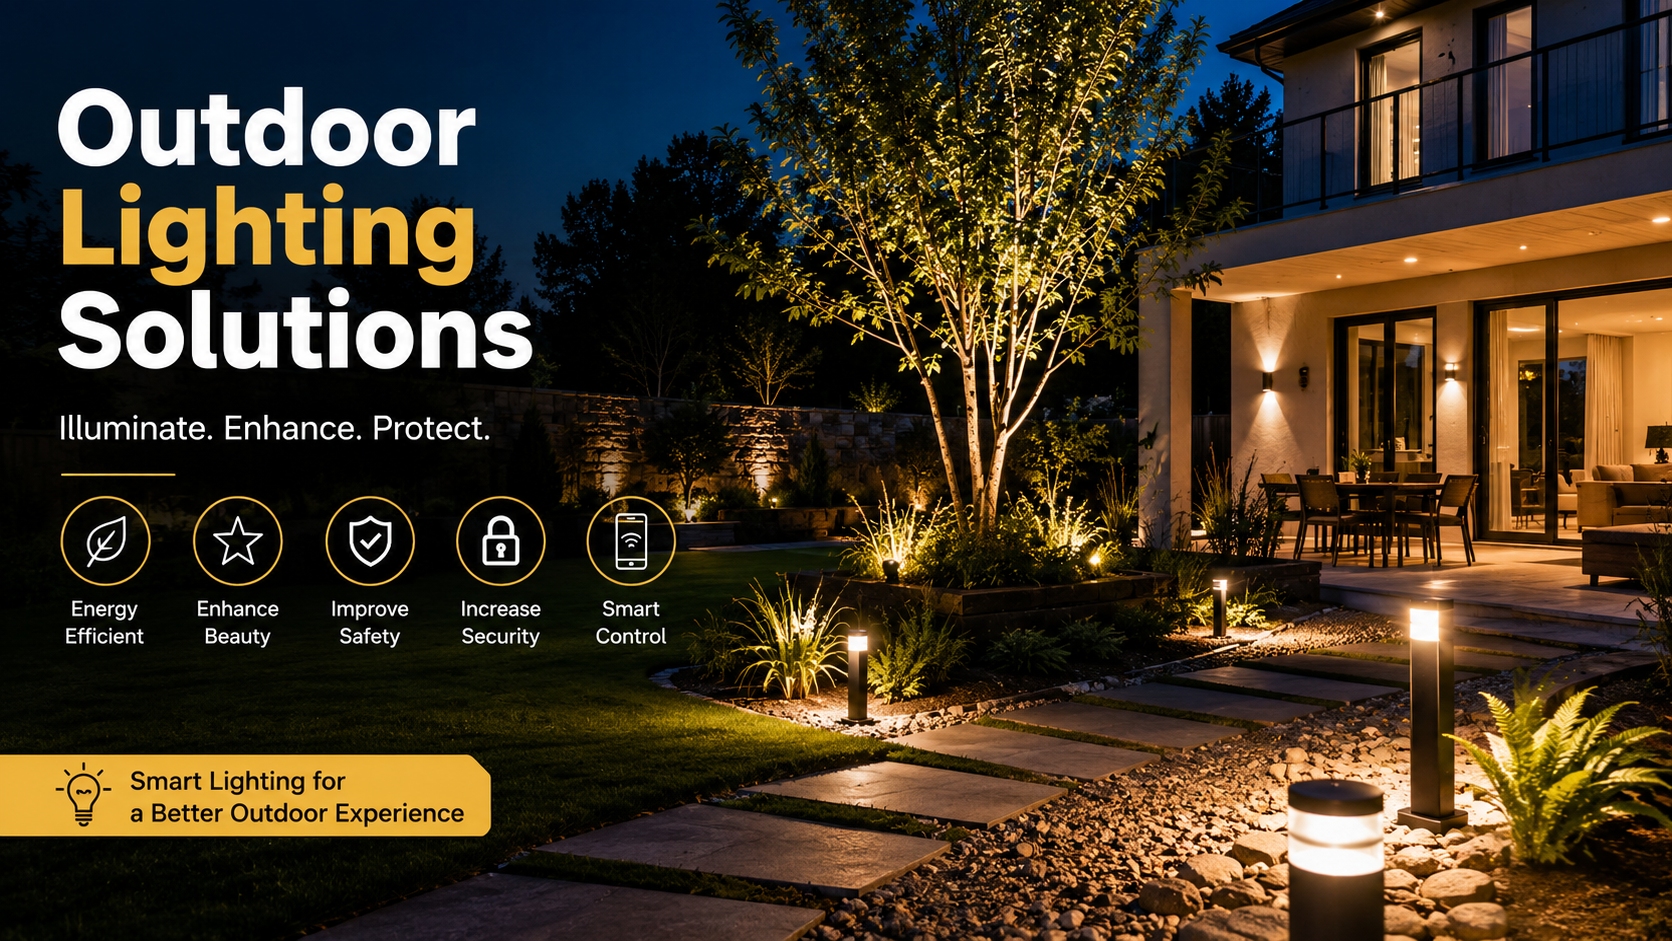
Outdoor landscape lighting can transform your home; it’s not just an extra decorative touch, it can make your home safer, more secure and more beautiful. A properly designed lighting system can add greatly to the value and enjoyment of your property whether you want to light a path, accent a building, or produce a magical night time ambiance. From planning to final adjustments, this thorough 1000 word walk through will take you through everything you need to know to get the job done right on low-voltage landscape lighting, even if you’re a DIYer.
Why Invest in Outdoor Landscape Lighting?
However, before you get down to the nitty-gritty of how to set up your lights, you should first grasp the many advantages that landscape lighting offers. In addition to the obvious benefits of aesthetic enhancement, the decorative lighting of outdoor spaces can offer a wide range of additional benefits:
- Enhances safety by illuminating walkways, steps, and potential tripping hazards
- Improves security by eliminating dark areas where intruders could hide
- Extends outdoor living spaces by allowing you to enjoy your yard after sunset
- Highlights architectural and landscaping features you’ve invested in
- Increases property value with relatively minimal investment
Step 1: Strategic Planning and Design
Assessing Your Power Source
The first step to an effective landscape lighting plan is to determine where the nearest outdoor electrical outlet is located. This will be the place to install your transformer, an essential transformer that takes the standard 120 volt house current and processes it into the safer 12 volt lighting system. The only place that you can mount and plug in your transformer is a place protected by a GFCI outlet that is in a protected area.
Choosing the Right Fixtures
Selecting appropriate light fixtures involves both aesthetic and functional considerations. Popular options include:
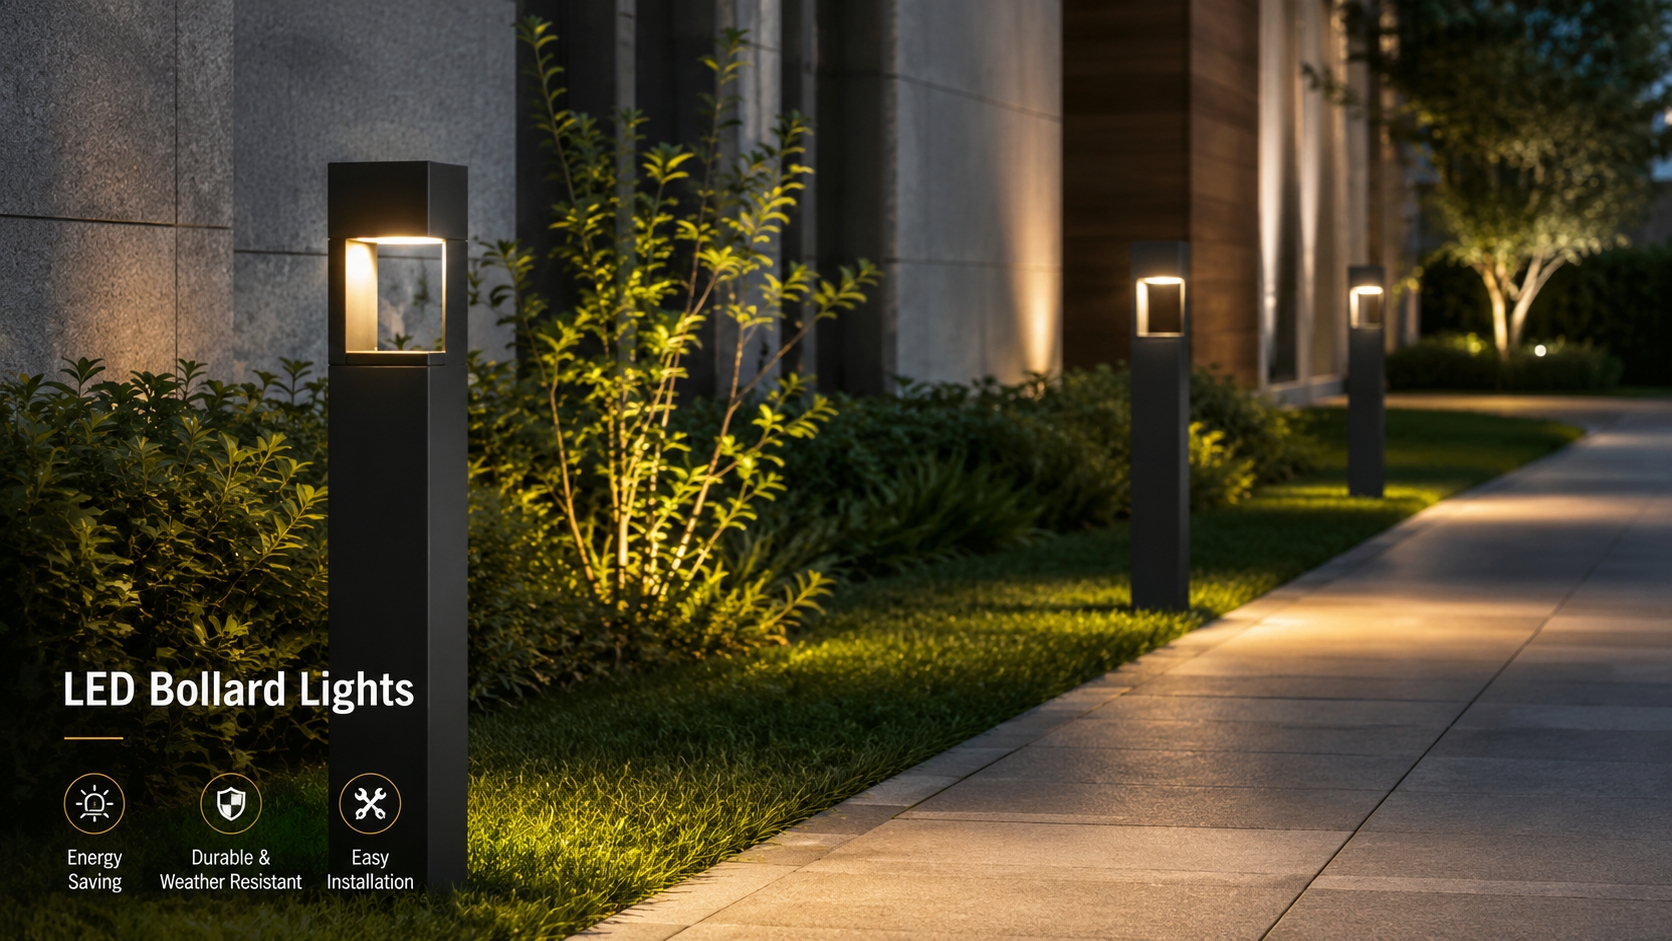
- Path lights for illuminating walkways and driveways
- Spotlights for highlighting trees, architectural features, or sculptures
- Floodlights for broader area illumination
- Step lights for stairways and elevation changes
- Deck and patio lights for outdoor living spaces
Take into account the design of your house and the mood you want to convey. Items such as solid brass, copper or powder-coated aluminum will be durable enough to withstand the elements and will fit your outdoor décor.
Nighttime Walkthrough
One of the most valuable planning steps is walking your property after dark with a flashlight. This allows you to:
- Identify areas needing illumination for safety
- Experiment with lighting angles and positions
- Visualize how different features will look when highlighted
- Determine optimal fixture placement before any digging begins
Step 2: Transformer Selection and Installation
Calculating Your Power Needs
Pick a transformer that is capable of the combined wattage of all of your landscape lighting and an extra 20% for future expansion. If your lighting system is 100 watts, choose a transformer that is rated for 120 watts or more. If you decide to add more lights later, you won’t have to pay for an expensive upgrade with this foresight.
Installation Best Practices
When installing your transformer:
- Mount it at least 12 inches above ground level to prevent water damage
- Ensure it’s protected from direct weather exposure
- Follow manufacturer instructions for proper grounding
- Consider accessibility for future adjustments or maintenance
Control Options
Modern transformers offer various control features:
- Manual timers for scheduled operation
- Photocell sensors that automatically turn lights on at dusk and off at dawn
- Wi-Fi enabled controllers for remote smartphone management
- Motion sensors for security-focused applications
Step 3: Cable Selection and Layout
Choosing the Right Cable Gauge
In most homes, 12 gauge low voltage wiring is the best choice for low voltage performance and will not result in any significant voltage drop. The longer the cable, the thicker the gauge should be to ensure that all fixtures have the same brightness.
Strategic Cable Placement
Run cable from the transformer to each light fixture location, leaving extra slack at each connection point for adjustments. Keep cables:
- Close to pathway edges or along planting beds
- Away from areas likely to be disturbed by gardening activities
- Organized in logical patterns to simplify troubleshooting
Step 4: Fixture Connection Techniques
Superior Connection Methods
While many landscape lighting kits include plastic connectors, we strongly recommend upgrading to brass barrel connectors. These offer:
- Superior corrosion resistance
- Longer lifespan in outdoor conditions
- More reliable electrical connections
- Better performance in temperature extremes
Waterproofing Connections
Proper waterproofing is essential for long-term reliability:
- Use waterproof wire nuts or direct burial connectors
- Apply dielectric grease to prevent corrosion
- Ensure all connections are fully seated and protected
- Test each connection before proceeding to the next fixture
Step 5: System Testing and Adjustment
Initial Power-Up
Before burying any cables, turn on your transformer and verify that all lights function properly. Address any issues immediately:
- Check for loose connections at non-working fixtures
- Verify transformer settings and timer programming
- Ensure all connections are properly made and waterproofed
Fine-Tuning for Maximum Impact
Minor adjustments can dramatically improve your lighting effects:
- Uplighting: Position lights at the base of trees or architectural features
- Downlighting: Mount lights in trees or on structures to cast natural-looking shadows
- Grazing: Place lights close to textured surfaces to highlight their details
- Silhouetting: Position lights behind objects to create dramatic outlines
Step 6: Final Installation and Maintenance
Cable Burial Techniques
Burying low-voltage cable 6-8″ deep is not strictly necessary for safety; however it helps to prevent damage and enhance the appearance. Cut the trench, using a flat shovel or trenching tool, to be as narrow as possible, and then push the cable into the trench.
Ongoing Maintenance
Regular maintenance ensures years of reliable operation:
- Clean fixture lenses every 3-6 months
- Trim vegetation that may block light paths
- Check connections annually for corrosion
- Replace bulbs or LEDs as needed
- Adjust fixture positions as plants grow
Product Recommendations and Professional Considerations
Quality Fixture Examples
Based on professional installations, consider fixtures like:
- Jasper 12V Solid Red Brass LED Spot Lights for uplighting applications
- Misty 12V Small Solid Red Brass LED Path Lights for walkway illumination
- Focus Industries RXT Series Transformers with optional Wi-Fi control
When to Call a Professional
While 12-volt systems are generally safe for DIY installation, consider hiring a licensed electrician if:
- You need to install new 120-volt outlets
- Your project requires extensive trenching or complex wiring
- You’re uncomfortable working with electrical components
- Local codes require professional installation
Conclusion: Enjoy Your Transformed Outdoor Space
Well planned landscape lighting makes your home a place to enjoy your life and makes your property more safe and attractive. With this step-by-step guide, you’ll be able to produce professional-quality results that will bring years of enjoyment. Keep in mind that landscape lighting is an art as well as a science and don’t hesitate to try out various effects until you get a happy blend of art and function.
When the sun finally sets on your new illuminated landscape, you’ll not only enjoy your beautiful creation, but also enjoy your new, more usable and more secure outdoor spaces. From hosting late-night parties, to relaxing evenings outdoors, to making your home look better than ever before, quality landscape lighting can be among the most satisfying home improvement projects you can do.
- 10 Meters Lamp Post
- 10 Meters Pole
- 1000w Led Projector
- 100W LED Tunnel Light
- 12 Meters Lamp Post
- 12 Meters Pole
- 1200w Led Projector
- 15 Light Pole
- 1500w Led Projector
- 150W LED Tunnel Light
- 1800w Led Projector
- 2 In 1 Solar Flood Light
- 200w Led Tunnel Light
- 50w Led Tunnel Light
- 6 Meters Lamp Post
- 6 Meters Pole
- 8 Meters Lamp Post
- 8 Meters Pole
- 800w Led Projector
- 80w Led Tunnel Light
- Colourful Decorative Light
- Conical post
- Courtyard Lamp
- courtyard light
- courtyard lighting fixture
- Decorative Landscape Light
- Decorative road Light
- Flood Light For Courtyard
- Flood Light for Garden
- Flood Light For Outdoor
- Foot Led High Bay Lights
- high bay led lights 100w
- industrial lampshade
- industrial LED shed lights
- industrial magnifying glass with light
- Integrated Solar Flood Light
- led courtyard lamp
- led courtyard light
- led high bay light 100w
- LED Projector For Stadium
- Led UFO High Bay 150W 5000k
- Lighting Plants Mining Price
- Maintenance Free LED Street Light
- Pic Controlling Tunnel Light
- PLC controlling tunnel light
- Post Top Garden Light
- RGB Landscape Light
- Rgbw Decorative Light
- Smart Tunnel Light
- solar courtyard lamp
- solar courtyard light
- Solar LED Road Light
- Solar Street Light For 10 Meter Pole
- Solar Street Light For 12 Meter Pole
- Solar Street Light For 6 Meter Pole
- Solar Street Light For 8 Meter Pole
- Split Type Solar Flood Light
- Sporting Projector
- Stadium Led Projector
- Street Lighting Post