how to connect landscape lighting?
 FACEBOOK
 TWITTER
 LINKEDIN
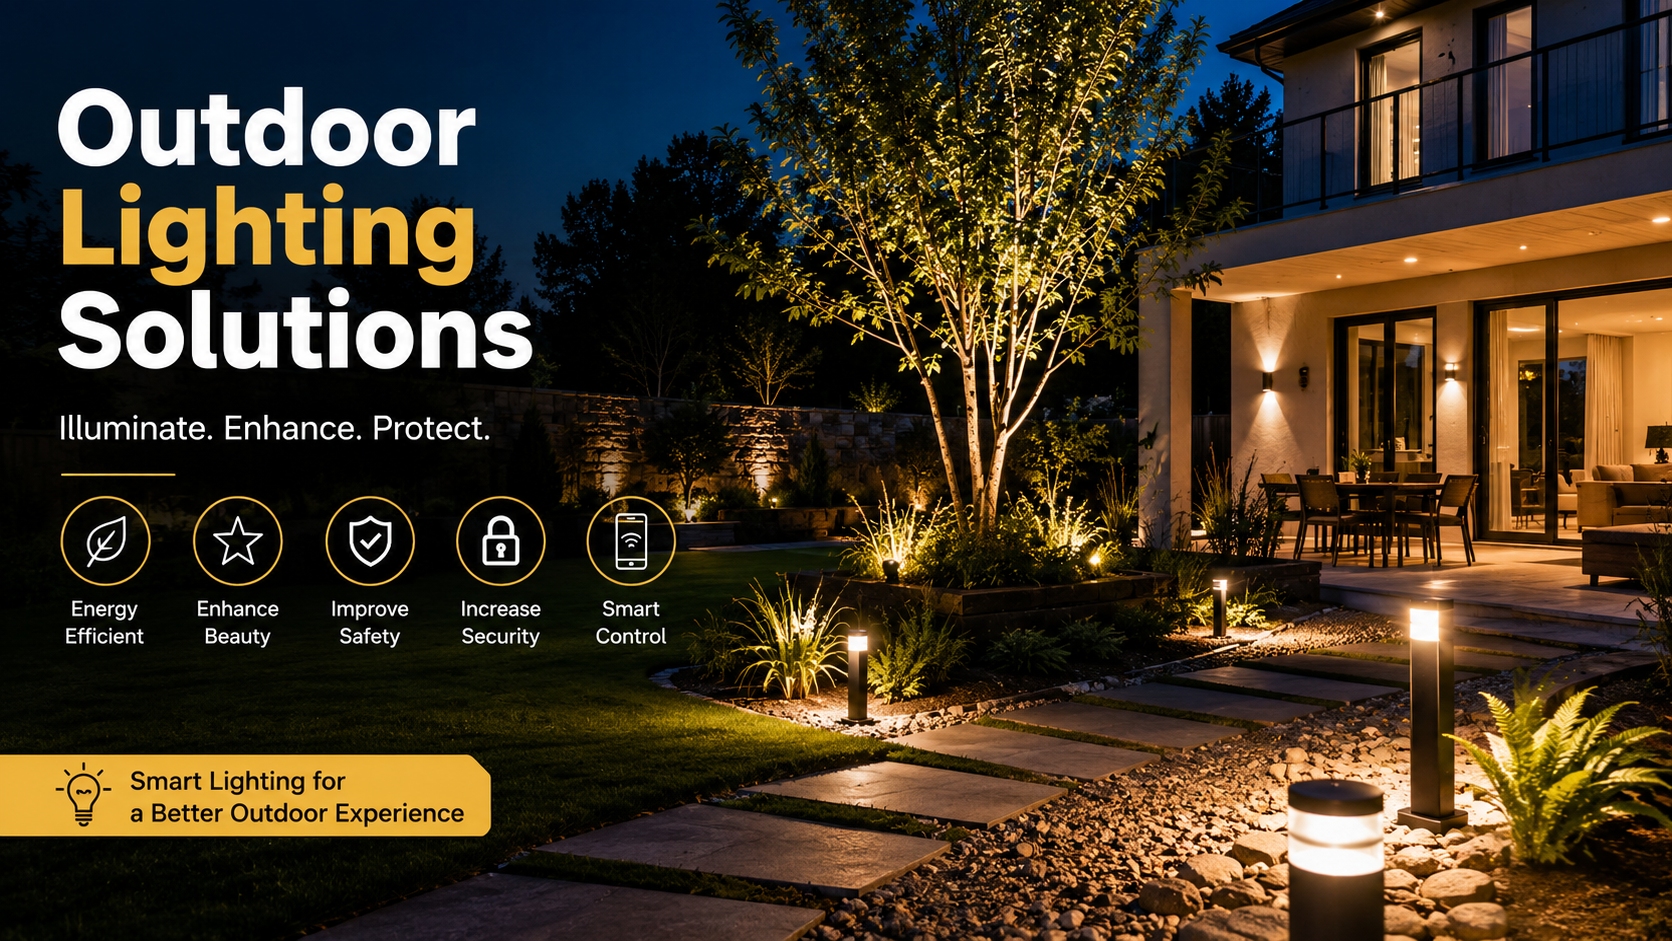
One of the best methods of curbing your home, increasing the security, and making your home welcoming is through outdoor lighting. It is crucial to learn how to connect landscape lighting correctly, whether you are illuminating walkways, emphasizing features in a garden or providing atmosphere in a backyard.
This detailed manual will take you step by step to the point of planning your design, wiring, and testing your installation, so that you can rest assured that you are an expert installer of landscape lighting.
The Reason Lighting in Landscapes is important.
Prior to proceeding to the installation, it would be nice to know the advantages of landscape lighting:
- Increased safety: Light walkways, stairs, and driveways to avoid accidents.
- Better security: Lighted-up front keeps away intruders.
- Aesthetic appeal: Enhance trees, plants, and buildings.
- Extended outdoor living: Enjoy your outdoor space even after sunset
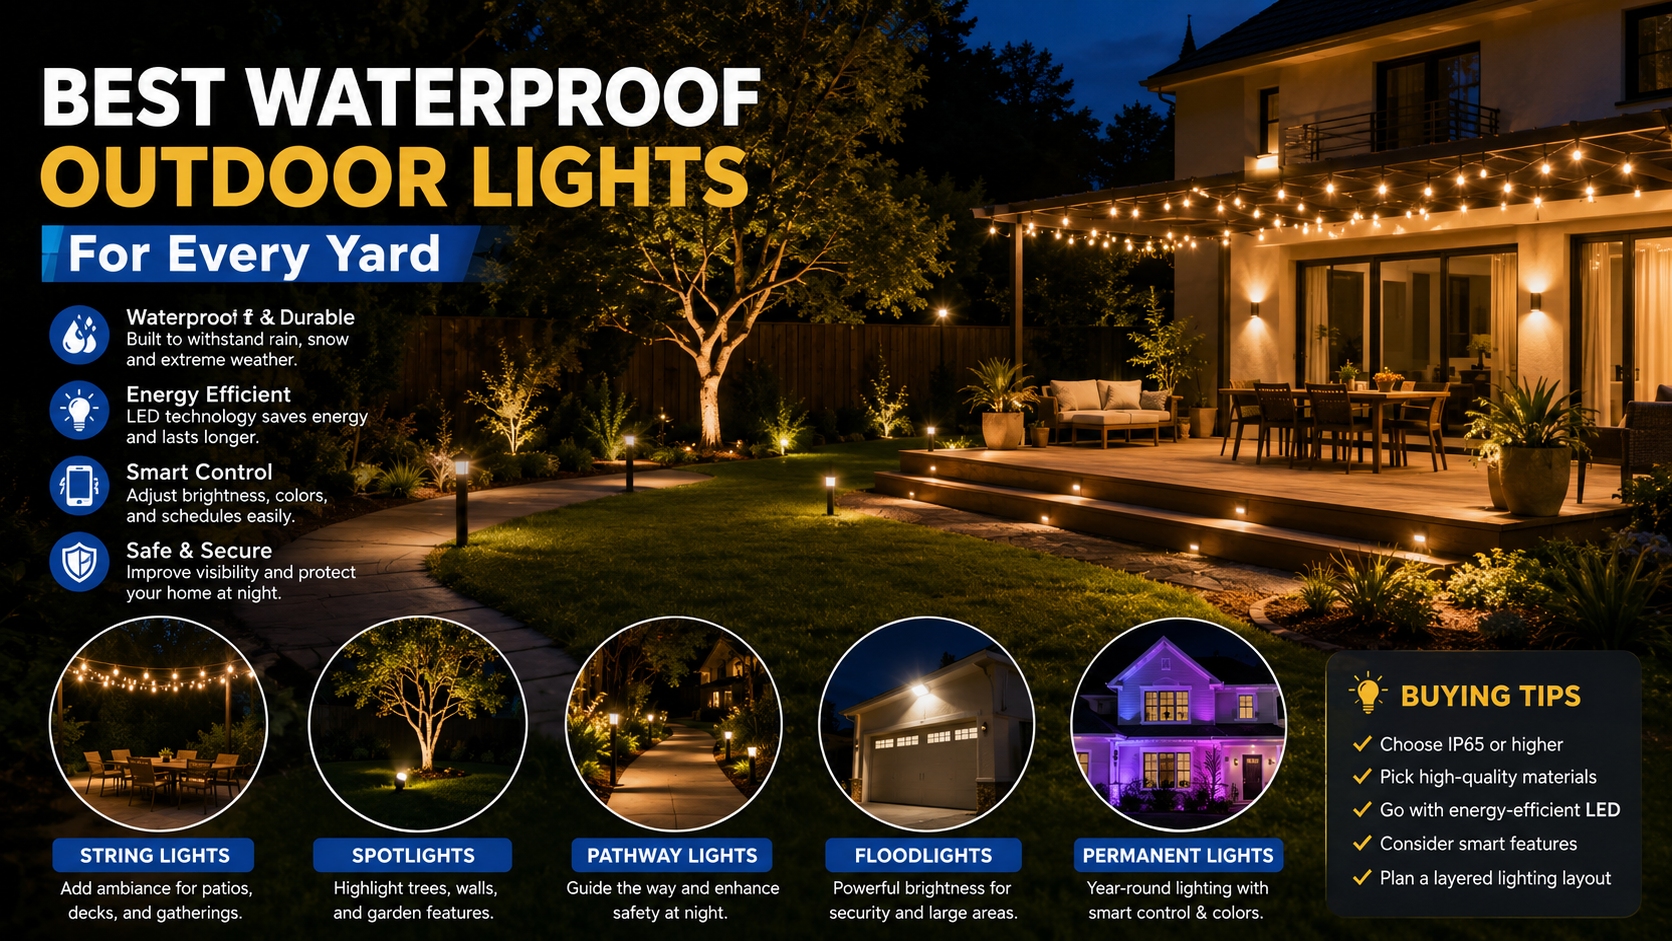
The vast majority of modern systems operate low-voltage (12V) lighting, safer and energy-saving, and perfect to install by DIY.
Step 1: Design Your Landscape Lighting Plan.
Planning is the most important and the first step.
Go around your yard at night and discover some areas that you would like to spotlight, including:
- Pathways and walkways
- Trees and shrubs
- Patios or decks
- Water features
Draw a basic plan of your yard and indicate the position of the light fixtures. Adequate spacing is essential–path lights are often spaced 10-15 feet apart to achieve even lighting.
Step 2: Prepare the Materials.
Before installation, make sure you have all required components:
- Low-voltage landscape lights
- Transformer (converts 120 V to 12 V)
- Cables that are outdoor-rated (12 or 14 gauge).
- Wire connectors (preferably waterproof)
- Shovel/trenching equipment.
- Wire stripper and cutters.
When selecting weatherproof fixtures, it is important to make sure that they are durable and will perform long in the outdoors.
Step 3: Install the Transformer
The core of your lighting system is the transformer.
- Locate it close to an outdoor power outlet.
- Install it in an accessible, dry place.
- Make sure it corresponds to the wattage of your lights.
A transformer lowers the standard household voltage to a safer level and the system can be installed by a DIY enthusiast.
Pro Tip: Select a transformer with a bit more capacity than you need now so that you can expand in the future.
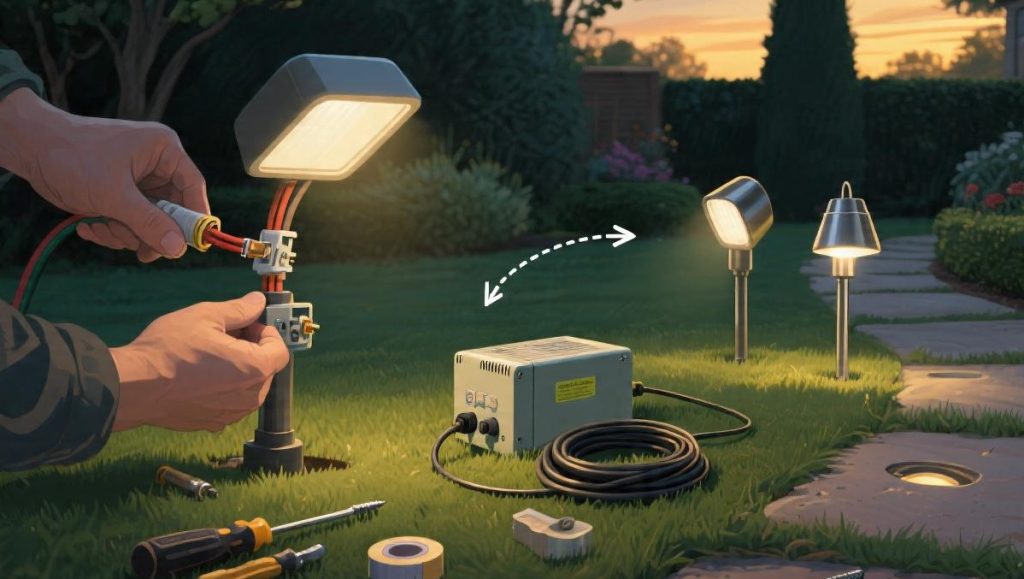
Step 4: Run the Low-Voltage Wiring
Then, lay out your cables on the route.
- Install the wire between the transformer and each place of the fixtures.
- Test with the wire initially above ground.
- Dig a shallow grave (around 6 inches deep) to be buried in.
Wiring methods are of three kinds, namely:
- Daisy chain: A series of lights in series.
- T-connection: T-shaped main cable towards fixtures.
- Hub system: A series of lights which are attached to a central point.
Both techniques are effective, yet novices tend to use daisy chain as it is simple.
Step 5: Attach the Light Fixtures.
Time now to hook up all the lights.
- Peel away the ends of the wires.
- Install connector to fit wires of the fixtures.
- Make sure that the connections are tight and secure.
Numerous sets of lights have quick-connect systems which tend to pierce the cable insulation to facilitate easy installation.
To enhance the robustness, it is better that waterproof connectors or gel-filled caps are used to protect against damage due to moisture.
Step 6: Light Lamp Test.
Prior to burying any wires:
- Turn on the transformer
- Test the lights one at a time.
- Repair any loose or faulty connections.
Early testing prevents needless digging in the future and makes sure that all works properly.
Step 7: Bury Cables and Complete Installation.
When everything has been properly set up:
- Carefully bury the cables in the trench
- Connect slightly above ground when necessary.
- Change the angles of the fittings to achieve the optimal lighting effect.
Proper location may produce dramatic shadows and bring out a point of focus in your landscape.
Step 8: Include Automation (Timer or Smart Control)
To be convenient and energy efficient, it is advisable to add:
- A timer
- A photocell sensor
- An intelligent home lighting system.
They enable your lights to be switched on and off automatically and conserve energy and enhance security.
How to keep your performance long lastingly.
To keep your landscape lighting system in top condition:
- Regularly clean fixtures
- Replace burnt-out bulbs
- Check for exposed or damaged wires
- Adjust lights as plants grow
Maintenance keeps your system functioning and helps to prolong its life.
Typical pitfalls to escape.
The following are some of the errors that newcomers need to be careful of:
- Selecting an inappropriate transformer size.
- Poor wire connections
- Incorrect light spacing
- Forgetting to test cables prior to burying.
These problems will be avoided and will save time and expensive repairs.
Do You install Landscape Lighting on your own?
Yes! The majority of low-voltage systems are intended to be installed by DIY. It is possible to make the project without involving a professional as long as you adhere to safety measures and instructions given by the manufacturer.
But when you have a high voltage wiring project or new electrical outlets, it will be better to seek the advice of a licensed electrician.
Final Thoughts
Landscape lighting seems to be a complicated task to connect, but when planned out and with the correct equipment, it is an attainable and fulfilling DIY project. Outdoor lighting can be long term when it comes to not just making your home pretty but also increasing safety and functionality.
This step-by-step guide will help you to build a high-quality lighting system that will turn your outdoor area into a breathtaking night landscape.
- 10 Meters Lamp Post
- 10 Meters Pole
- 1000w Led Projector
- 100W LED Tunnel Light
- 12 Meters Lamp Post
- 12 Meters Pole
- 1200w Led Projector
- 15 Light Pole
- 1500w Led Projector
- 150W LED Tunnel Light
- 1800w Led Projector
- 2 In 1 Solar Flood Light
- 200w Led Tunnel Light
- 50w Led Tunnel Light
- 6 Meters Lamp Post
- 6 Meters Pole
- 8 Meters Lamp Post
- 8 Meters Pole
- 800w Led Projector
- 80w Led Tunnel Light
- Colourful Decorative Light
- Conical post
- Courtyard Lamp
- courtyard light
- courtyard lighting fixture
- Decorative Landscape Light
- Decorative road Light
- Flood Light For Courtyard
- Flood Light for Garden
- Flood Light For Outdoor
- Foot Led High Bay Lights
- high bay led lights 100w
- industrial lampshade
- industrial LED shed lights
- industrial magnifying glass with light
- Integrated Solar Flood Light
- led courtyard lamp
- led courtyard light
- led high bay light 100w
- LED Projector For Stadium
- Led UFO High Bay 150W 5000k
- Lighting Plants Mining Price
- Maintenance Free LED Street Light
- Pic Controlling Tunnel Light
- PLC controlling tunnel light
- Post Top Garden Light
- RGB Landscape Light
- Rgbw Decorative Light
- Smart Tunnel Light
- solar courtyard lamp
- solar courtyard light
- Solar LED Road Light
- Solar Street Light For 10 Meter Pole
- Solar Street Light For 12 Meter Pole
- Solar Street Light For 6 Meter Pole
- Solar Street Light For 8 Meter Pole
- Split Type Solar Flood Light
- Sporting Projector
- Stadium Led Projector
- Street Lighting Post