how to install landscape lighting?
 FACEBOOK
 TWITTER
 LINKEDIN
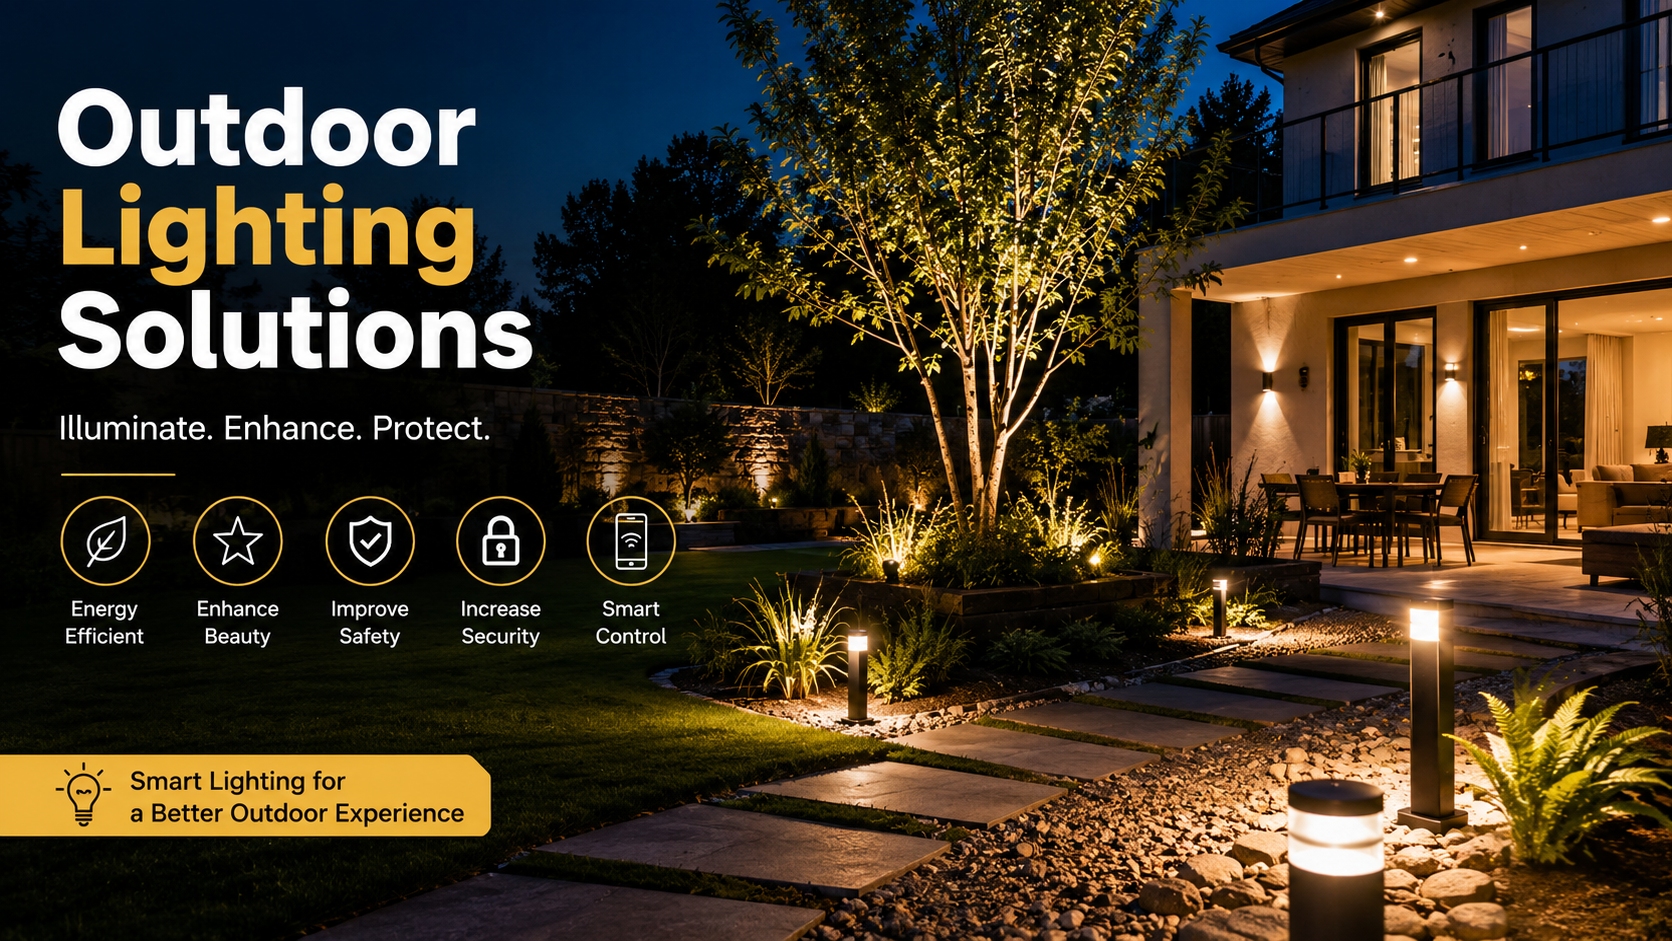
Landscape lighting can change your front yard or back yard- not only to increase security but also to improve the attractiveness of your home, but also to showcase the architecture and landscape elements in the front or back yard as the sun sets. This guide will take you through installing landscape lighting in Seattle, WA or any other part of the U.S., and do it in a way that is safe, proper, and can give maximum beauty and utility.
Landscape lighting doesn’t have to be complicated. Most homeowners with simple tools, proper planning and strategy can accomplish a do-it-yourself (DIY) project utilizing low-voltage (12V) lighting systems which is the most common and safe type of outdoor lighting used in homes.
What is the Reason to install Landscape Lighting?
We have to first see what good landscape lighting achieves:
- Safety & Security: Stabilizes walkways, steps and outdoor areas in order to minimize the risk of trips and enhance visibility during the dark time.
- Curb Appeal: Proper lighting can be used to illuminate architectural elements, stone work, trees and gardens to make the exterior look more welcoming.
- Long Outdoor Living: Continued use of patio lights and garden lighting allows your outdoor space to be used even at night.
- Energy Efficiency: The new LED and low-voltage systems require much less power than the old lighting.
How to prepare before Your Landscape Lighting Installation.
- Make a Lighting Plan.
Any good results begin with a good plan.
- Walk Your Yard at Dusk or Night: Determine high‑priority focal points — pathways, driveways, trees, garden beds, patios, water features, and entrances.
- Draw Your Plan: Place lights where they will be used to add depth and dimension without glare or multiple light areas.
- Spacing: Path lights should be spaced with typical distance of between 8 -10 feet, whereas accent and spotlight lights should be spaced at points where features require emphasis.
Mapping first assists you buy the correct amount of fixtures, cable length, and transformer size.
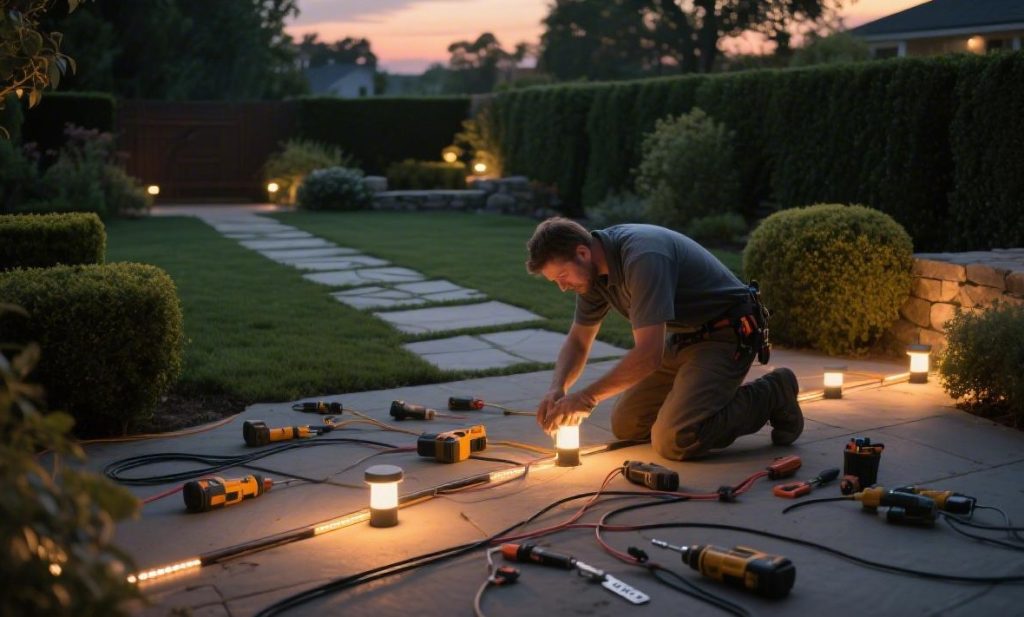
Step‑by‑Step Installation
- Gather Essential Tools & Materials
You’ll need:
- Path lights, spotlights, floodlights: landscape lighting fixtures.
- Low‑voltage transformer
- Outdoor‑rated low‑voltage cable
- Junction hubs or wire connectors.
- Wire strippers, shovel and underground cable installation equipment.
- Optional: trenching tool or edger to bury cables in a neat fashion.
Safety first – Select outdoor-rated products and make sure that all wiring is in line with local codes.
- Prepare Your Site and Mark.
Before digging:
- Any underground utilities should be marked to prevent the destruction of gas, water, and electrical lines.
- Arrange your fixtures on the floor as per your plan to see how to space them out before installation.
- Build and install Fixtures.
The majority of landscape lighting is either surface mounted or stake-mounted:
- Stake Mounted: Stakes are driven into the ground to fix fixtures. This can be made easier by a tool known as a stake installer or foot stomper.
- Surface Mount: The fixtures are mounted on a hard surface (such as a wall or a patio) by screwing and anchoring.
In the case of in-ground lights, dig a small hole and place the light, carefully leaving a length of cable that is loose enough to allow easy later adjustments (typically 12 inches to 18 inches).
- Install the Transformer
The transformer is the heart of your landscape lighting system:
- Install it close to an exterior outlet, which is covered with a ground-fault circuit interrupter (GFCI).
- It must be at least one foot clearance around and away water features.
- Connect cable to the low-voltage output of the transformer; shorter cables should be connected to the 12 V tap and shorter load, and longer cables should be connected to the 15 V tap.
- Trench and Lay Your Cable.
Use a shovel or trenching tool to lay the low‑voltage cable:
- Dig a shallow trench (typically ~6″ deep) along your planned route.
- Install the cable leading out of the transformer to the most distant of the fixtures then loop back to each extra light.
- Additional slack at every fitting to enable end positioning.
Cover cable when laid. This keeps it out of the way of lawn mowers and other damage and has your yard clean.
- Fixtures, Wire and Connect.
The connection of lights to the main cable is one of the most important:
- Removing insulation Strip approximately 1/2 inch of insulation of the main cable and the wires of the fixtures.
- Use either twist‑on waterproof connectors or clamp‑style junction connectors to join wires securely.
- In systems that have numerous fixtures that are in close proximity, a wire hub can be used to make a series of multiple connections.
Good connections help prevent corrosion and ensure long‑term reliability.
- Test and Adjust
Having made all connections:
- Turn on the transformer to test your system at night.
- Test the lights to make sure they are in the right position and direction.
- Tilt heads in order to minimize glare or to emphasize specific features.
This is the artistic component – balancing the angle and brightness of each of the fixtures to get the appearance you want.
- Finalize and Program Controls
After adjustments:
- Cover up any exposed cable.
- Use timers, photocells (light sensors) or smart controllers to run a programmable on/off schedule.
- Periodic duskto-dawn clocks save energy and make it convenient.
Safety and Best Practices
- Low-Voltage vs. Line Voltage: The most common DIY outdoor lighting has low-voltage systems (12V) due to their lower risk and simpler installation. The work with line voltage (120 V) should be performed by a certified electrician.
- Capacity of Transformer: It is always advisable to choose a transformer with the capacity to accommodate the sum of the total wattage of your lights with an added capacity to accommodate any additional lights.
- Weatherproof Connectors: Consider using connectors that have an outdoor rating to avoid moisture and corrosion.
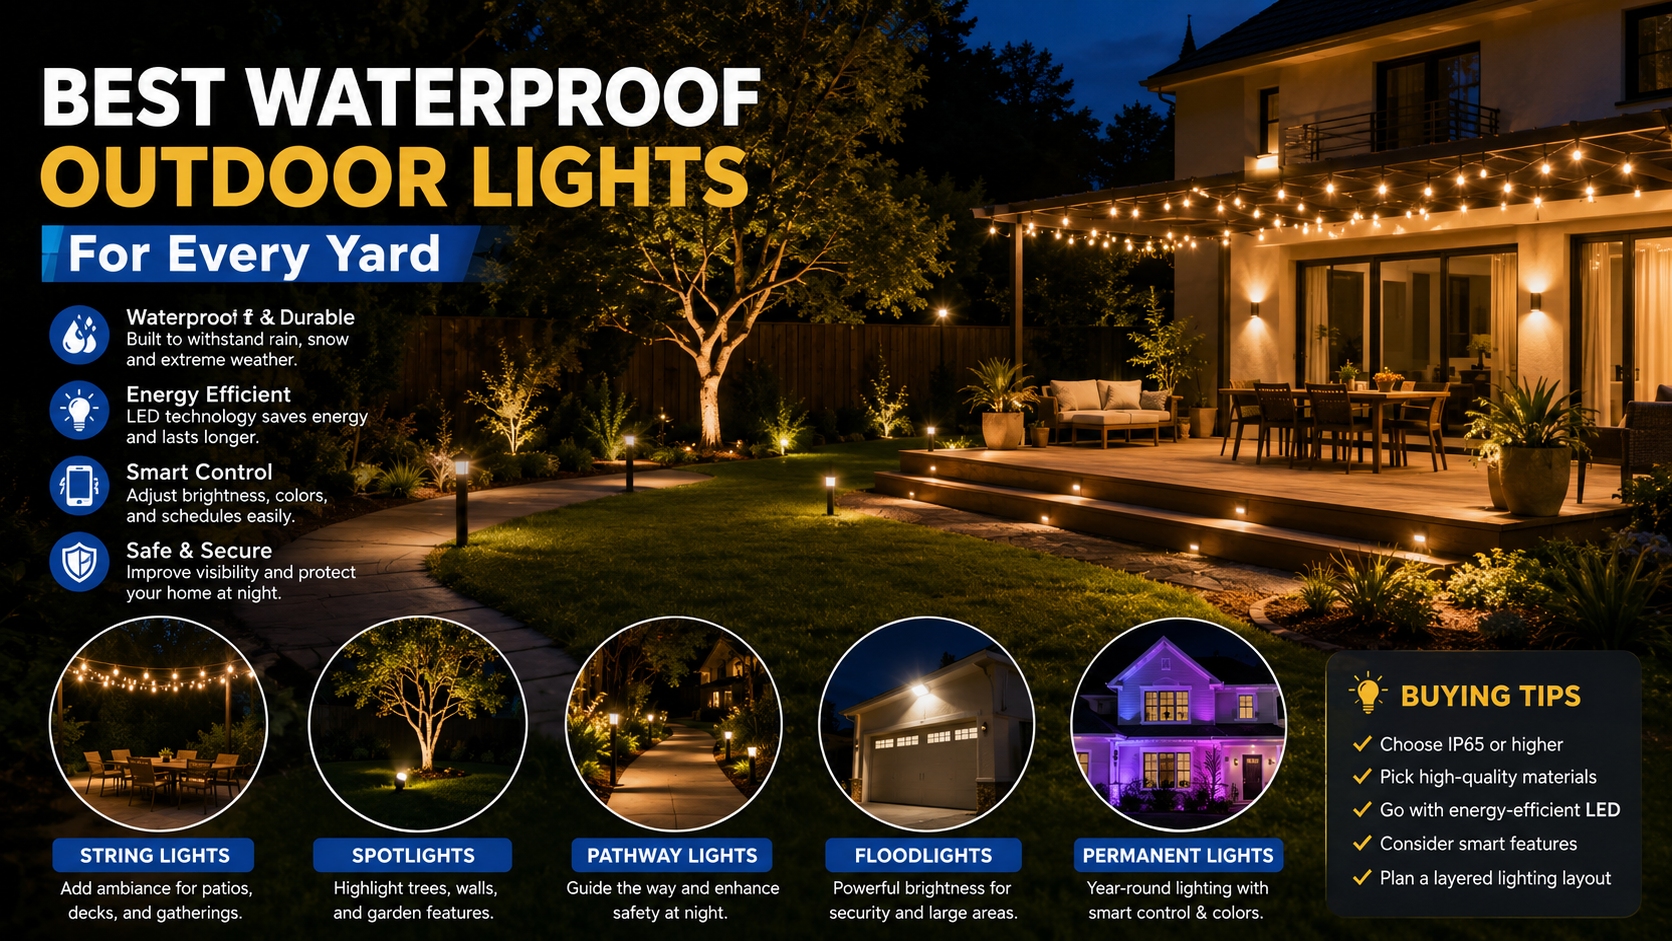
Lighting Landscape Hints to maximum effects.
- Combine Your Lighting: Add depth and dimension with a combination of path lights, accent uplights, and spotlights.
- Accent Key Features: To add some visual interest, include water features, buildings, and trees.
- Avoid Over-Lighting: Excess brightness may flatten features and cause glare-keep it in harmony and low-key.
Conclusion
One of the most gratifying outdoor projects that homeowners can do is to install landscape lighting. With a layout, preparation of the site and proper step by step installation, you will have a beautiful functional nighttime scene that improves the beauty of your property and makes it usable.
Always ask a professional (preferably a licensed one) when in doubt about electrical work, particularly with line voltage. However, in the case of most low-voltage designs this technique can assist you in attaining professional-looking results that can make your yard, garden or patio lighting aspirations.
- 10 Meters Lamp Post
- 10 Meters Pole
- 1000w Led Projector
- 100W LED Tunnel Light
- 12 Meters Lamp Post
- 12 Meters Pole
- 1200w Led Projector
- 15 Light Pole
- 1500w Led Projector
- 150W LED Tunnel Light
- 1800w Led Projector
- 2 In 1 Solar Flood Light
- 200w Led Tunnel Light
- 50w Led Tunnel Light
- 6 Meters Lamp Post
- 6 Meters Pole
- 8 Meters Lamp Post
- 8 Meters Pole
- 800w Led Projector
- 80w Led Tunnel Light
- Colourful Decorative Light
- Conical post
- Courtyard Lamp
- courtyard light
- courtyard lighting fixture
- Decorative Landscape Light
- Decorative road Light
- Flood Light For Courtyard
- Flood Light for Garden
- Flood Light For Outdoor
- Foot Led High Bay Lights
- high bay led lights 100w
- industrial lampshade
- industrial LED shed lights
- industrial magnifying glass with light
- Integrated Solar Flood Light
- led courtyard lamp
- led courtyard light
- led high bay light 100w
- LED Projector For Stadium
- Led UFO High Bay 150W 5000k
- Lighting Plants Mining Price
- Maintenance Free LED Street Light
- Pic Controlling Tunnel Light
- PLC controlling tunnel light
- Post Top Garden Light
- RGB Landscape Light
- Rgbw Decorative Light
- Smart Tunnel Light
- solar courtyard lamp
- solar courtyard light
- Solar LED Road Light
- Solar Street Light For 10 Meter Pole
- Solar Street Light For 12 Meter Pole
- Solar Street Light For 6 Meter Pole
- Solar Street Light For 8 Meter Pole
- Split Type Solar Flood Light
- Sporting Projector
- Stadium Led Projector
- Street Lighting Post