how to plan landscape lighting?
 FACEBOOK
 TWITTER
 LINKEDIN
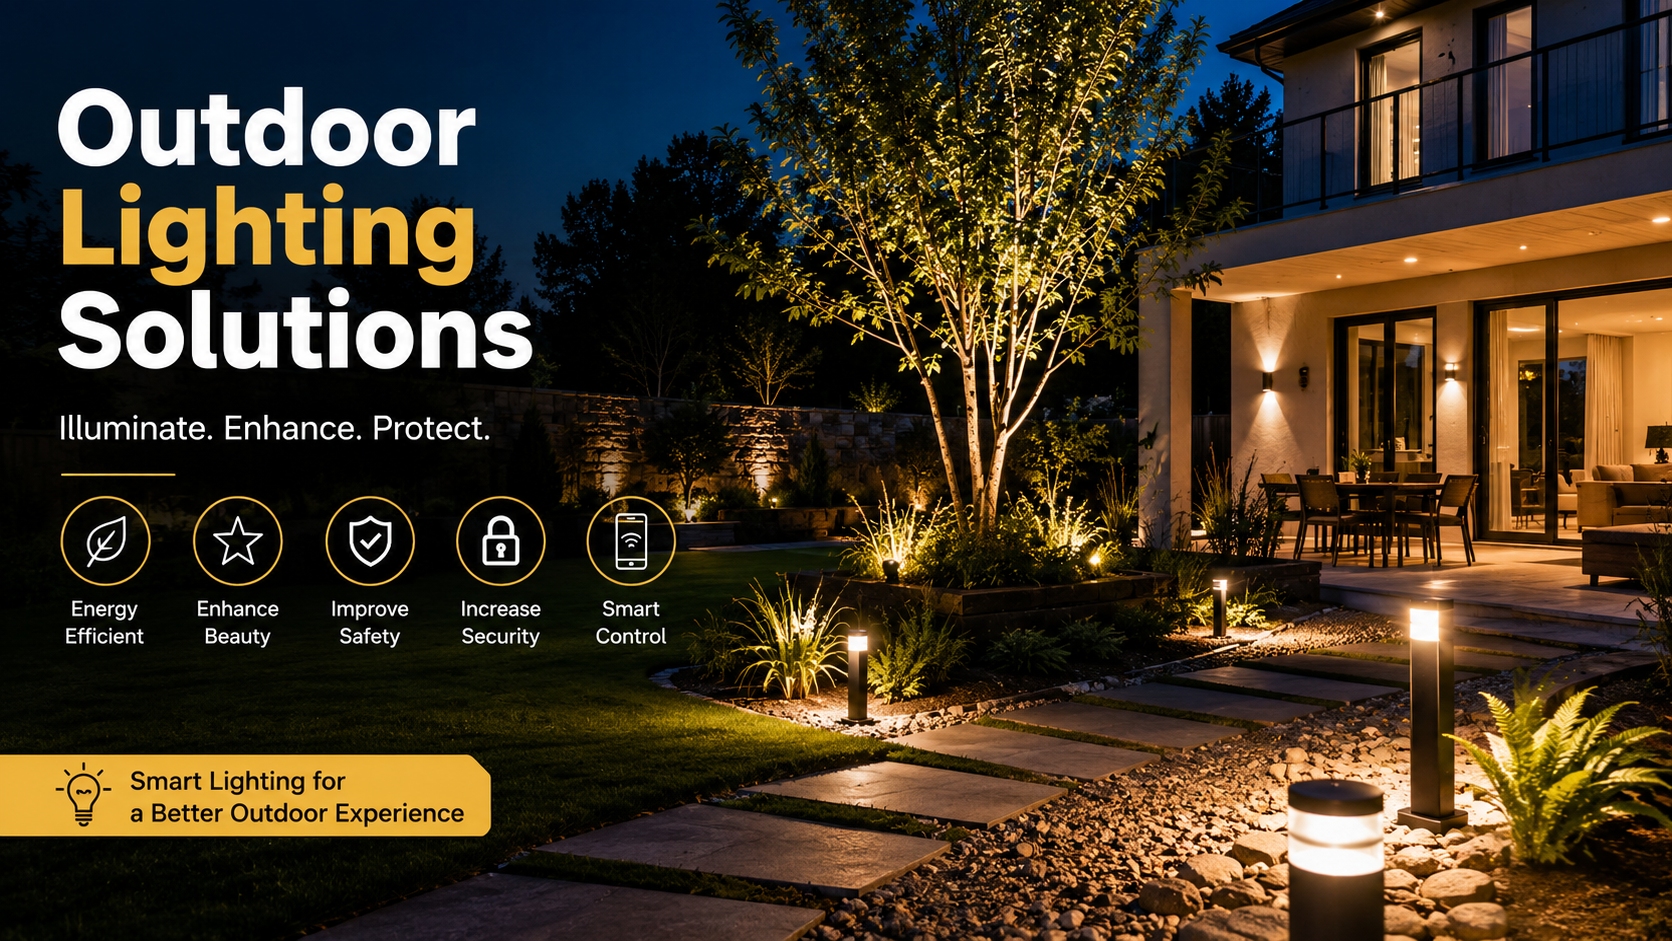
One of the best methods of making your house look better to visitors is through outdoor lighting, which will improve the safety of your house and make it look friendly. Designing the LED landscape lighting system can be both energy-efficient and long-lasting, yet, the system must be designed to highlight the architectural and natural structures.
This guide will show you how to plan a professional installation of LED landscape lighting step-by-step, whether you are a homeowner, contractor or property manager.
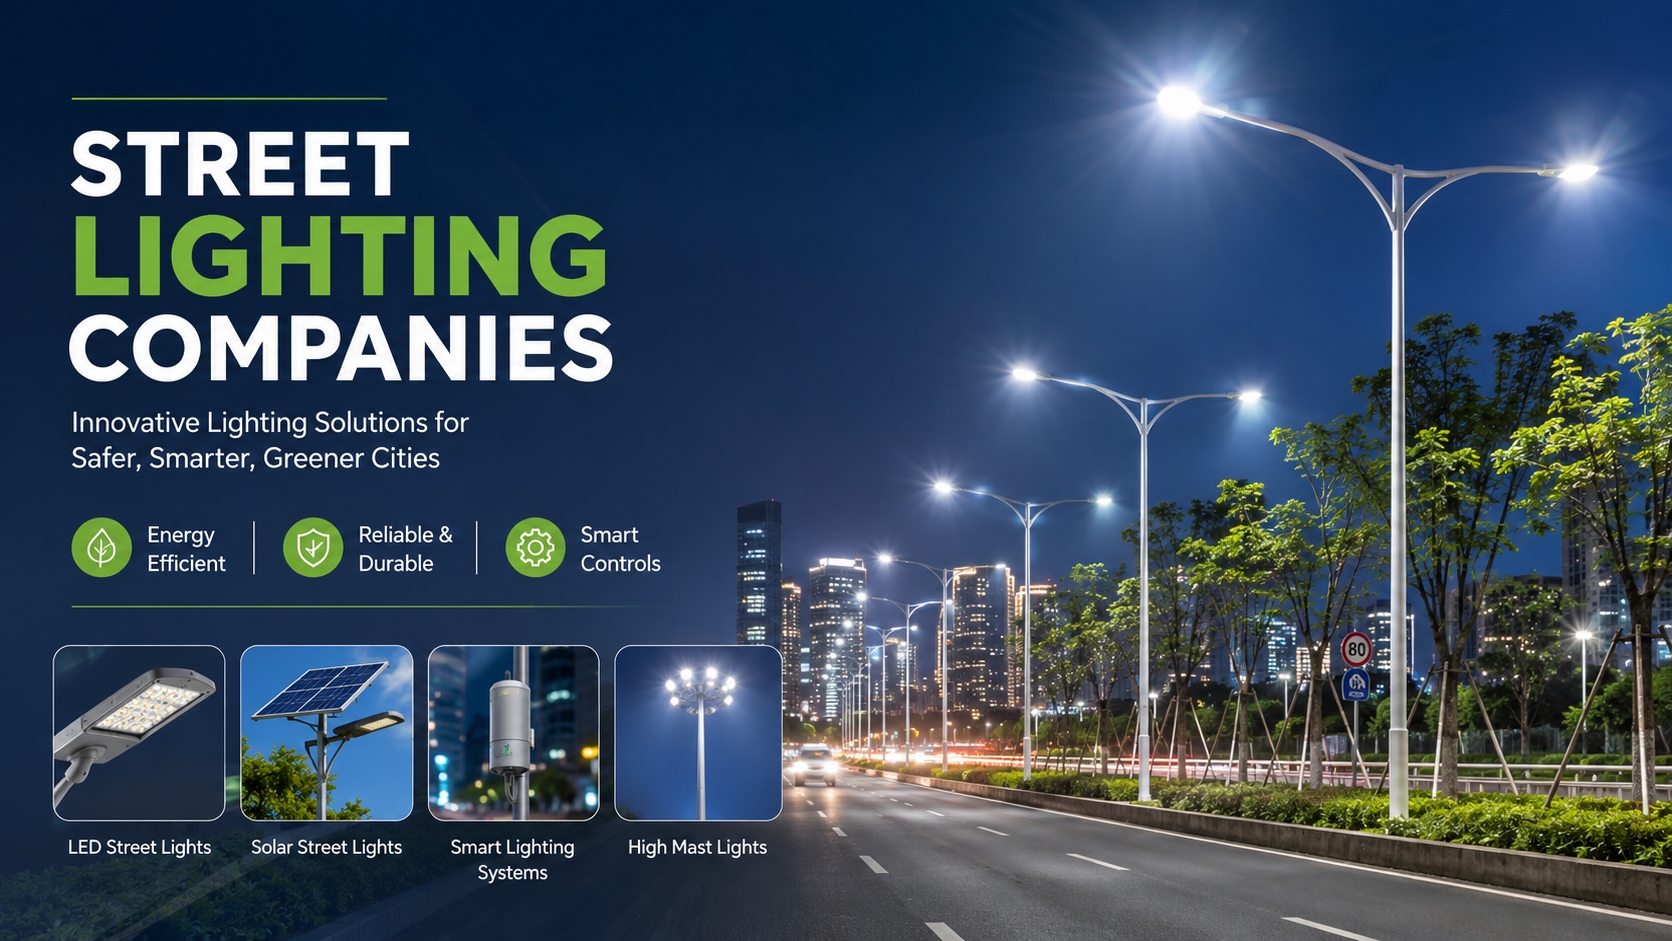
Why Choose LED Landscape Lighting?
Outdoor lighting has been dominated by LED lighting which is more efficient in energy consumption, has a long life span and requires less maintenance. LEDs use much less power than traditional halogen or incandescent bulbs and provide a uniform brightness and superior color control.
Moreover, low-voltage LED systems are less hazardous to install and are suitable in residential landscape, which makes them very popular all over the world.
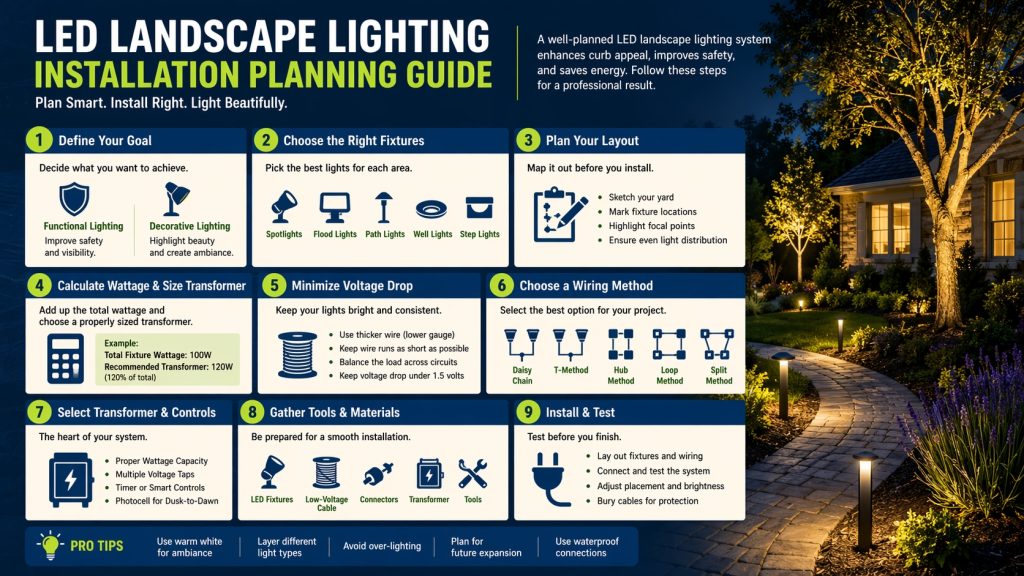
Step 1: Define the Purpose of Your Outdoor Lighting
Before purchasing any fixtures, identify the primary goal of your landscape lighting. Most outdoor lighting falls into two categories:
1. Functional Lighting
- Illuminates walkways, driveways, and entrances
- Enhances safety and visibility at night
- Ideal for stairs, decks, and pathways
2. Decorative Lighting
- Highlights trees, gardens, and architectural features
- Creates ambiance for outdoor living spaces
- Enhances property aesthetics
A successful lighting design typically combines both functions for balance and usability.
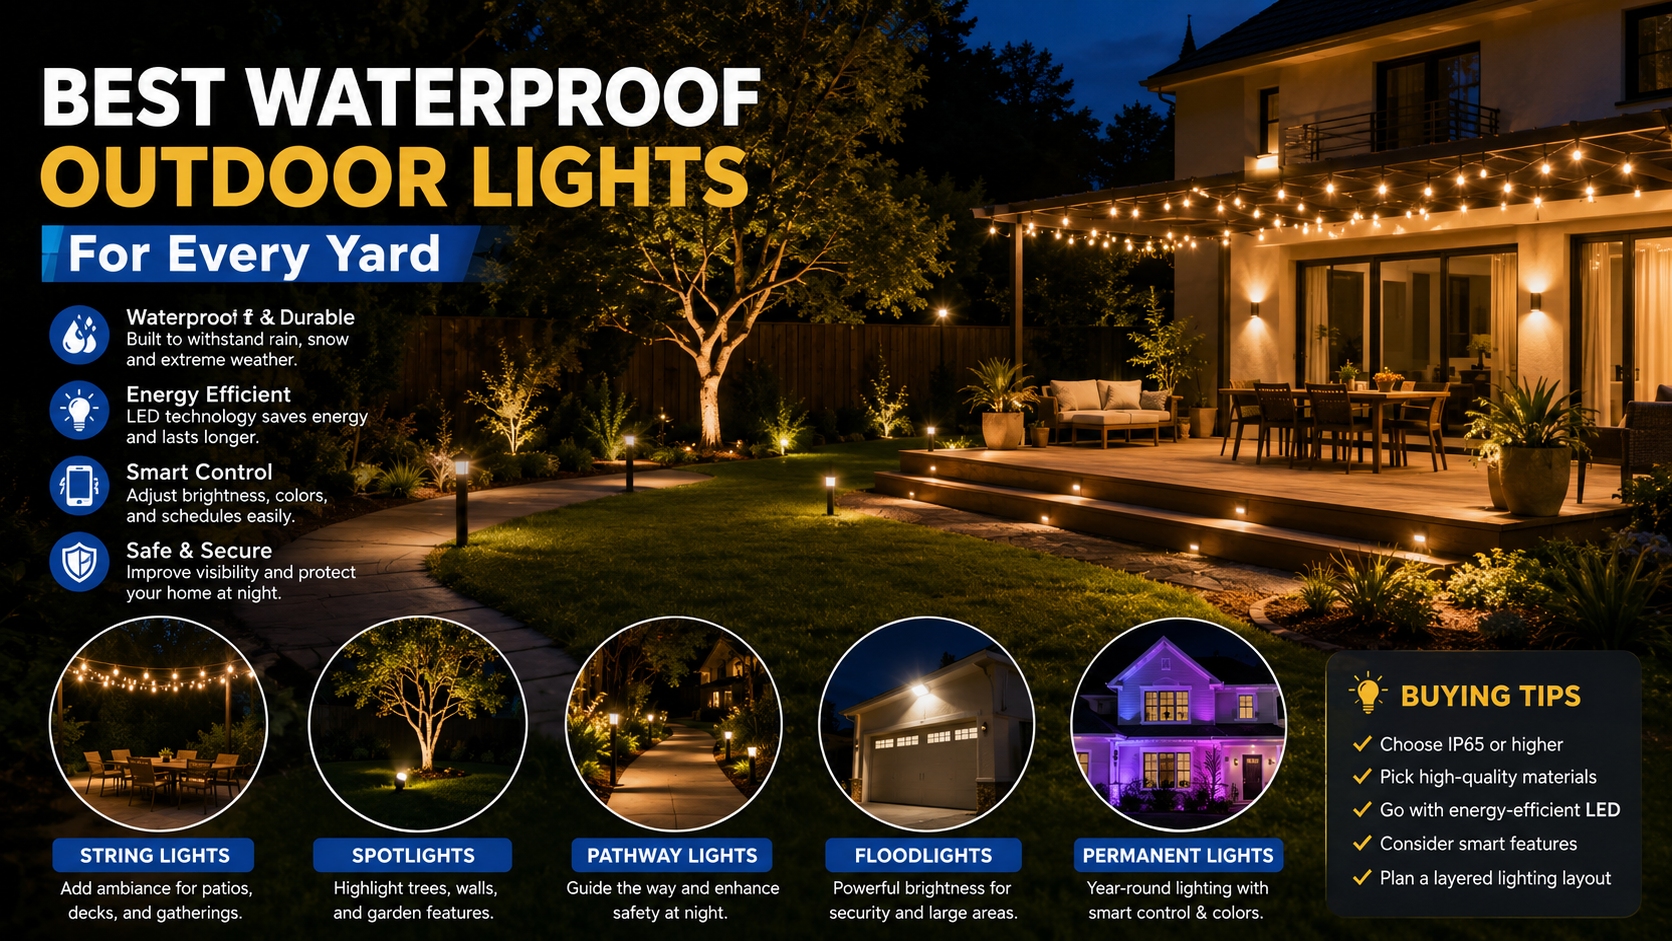
Step 2: Choose the Right Types of LED Landscape Lights
Selecting the correct fixtures is essential for achieving your desired lighting effect. Each type of light serves a specific purpose:
- Spotlights: Focused beams for trees, statues, or focal points
- Flood lights: Wide coverage for large areas
- Path lights: Improve visibility along walkways
- Well lights: In-ground fixtures for subtle uplighting
- Deck and step lights: Increase safety on stairs and platforms
Understanding how each light works allows you to design a layered lighting system that adds depth and dimension to your outdoor space.
Step 3: Plan Your Lighting Layout
A detailed layout is crucial for a successful installation. Start by walking through your outdoor space and identifying key areas to illuminate.
Key Tips for Layout Planning:
- Sketch a map of your yard or garden
- Mark fixture locations and distances
- Highlight focal points (trees, walls, water features)
- Ensure even light distribution
Proper spacing prevents over-lighting and creates a more natural, visually appealing effect.
Step 4: Calculate Total Wattage and Power Requirements
To ensure your system operates efficiently, calculate the total wattage of all fixtures.
Basic Formula:
Total Fixture Wattage = Sum of all individual lights
Once you have the total:
- Choose a transformer rated at 120% of your total wattage
- Example: 100W lighting system → 120W transformer
This extra capacity allows for future expansion and prevents system overload.
Step 5: Understand Voltage Drop and Wire Selection
One of the most frequent problems of landscape lighting systems is voltage drop. It is the situation in which electricity becomes weaker when passing through wires and lights further away will appear weaker.
How to Minimize Voltage Drop:
- Use thicker wire (lower gauge number)
- Keep wire runs as short as possible
- Distribute lights evenly across circuits
A voltage drop greater than about 1.5 volts can affect lighting performance and should be corrected during planning.
Step 6: Choose the Best Wiring Method
There are several ways to connect your lighting system. Each has advantages depending on your layout:
Common Wiring Methods:
- Daisy Chain: Simple and cost-effective but may cause uneven brightness
- T-Method: Balances voltage across fixtures
- Hub Method: Centralized connections for consistent brightness
- Loop Method: Reduces voltage drop but more complex
- Split Method: Multiple lines from transformer for better load distribution
Choosing the right method improves system reliability and ensures uniform lighting across your landscape.
Step 7: Select a Suitable Transformer and Controls
The transformer is the heart of your lighting system. When selecting one, consider:
- Total wattage capacity
- Multiple voltage taps for flexibility
- Built-in timers or smart controls
- Compatibility with photocells (dusk-to-dawn operation)
Smart features can automate your lighting system, improving convenience and energy efficiency.
Step 8: Gather Tools and Installation Materials
Before installation, prepare all necessary tools and components:
- LED landscape fixtures
- Transformer
- Low-voltage cable
- Wire connectors and waterproof junctions
- Wire strippers and cutters
- Shovel or trenching tool
- Voltage tester
Having the right equipment ensures a smooth and safe installation process.
Step 9: Install and Test Your System
Once everything is ready:
- Lay out all fixtures and wiring above ground
- Connect lights to the main cable
- Test the system before burying wires
- Adjust placement and brightness if needed
- Bury cables (typically at least 15 cm deep)
Testing beforehand helps identify issues early and prevents costly rework.
Pro Tips for Better Landscape Lighting Design
- Combine different fixture types for layered lighting
- Use warm white light for ambiance and cool white for security
- Avoid over-lighting to maintain a natural nighttime feel
- Plan for future expansion
- Consider solar options for simple installations
Additionally, integrating lighting techniques like uplighting, shadowing, and silhouette effects can dramatically enhance visual impact.
Common Mistakes to Avoid
- Ignoring voltage drop calculations
- Using undersized transformers
- Poor fixture placement
- Overcrowding lights
- Skipping waterproof connections
Proper planning helps you avoid these issues and ensures long-term performance.
Conclusion
The layout, power requirements, wiring and the selection of the fixtures are some of the aspects that need to be considered when planning an LED landscape lighting installation. With a systematic approach, you will be able to build a system that will add beauty and functionality to your outdoor space.
It could be updating your garden, lighting up walkways or an outdoor space that provides the comfort needed, an LED-based lighting system is well-built to provide long-term value, energy-saving, and awe-inspiring aesthetic outcomes.
- 10 Meters Lamp Post
- 10 Meters Pole
- 1000w Led Projector
- 100W LED Tunnel Light
- 12 Meters Lamp Post
- 12 Meters Pole
- 1200w Led Projector
- 15 Light Pole
- 1500w Led Projector
- 150W LED Tunnel Light
- 1800w Led Projector
- 2 In 1 Solar Flood Light
- 200w Led Tunnel Light
- 50w Led Tunnel Light
- 6 Meters Lamp Post
- 6 Meters Pole
- 8 Meters Lamp Post
- 8 Meters Pole
- 800w Led Projector
- 80w Led Tunnel Light
- Colourful Decorative Light
- Conical post
- Courtyard Lamp
- courtyard light
- courtyard lighting fixture
- Decorative Landscape Light
- Decorative road Light
- Flood Light For Courtyard
- Flood Light for Garden
- Flood Light For Outdoor
- Foot Led High Bay Lights
- high bay led lights 100w
- industrial lampshade
- industrial LED shed lights
- industrial magnifying glass with light
- Integrated Solar Flood Light
- led courtyard lamp
- led courtyard light
- led high bay light 100w
- LED Projector For Stadium
- Led UFO High Bay 150W 5000k
- Lighting Plants Mining Price
- Maintenance Free LED Street Light
- Pic Controlling Tunnel Light
- PLC controlling tunnel light
- Post Top Garden Light
- RGB Landscape Light
- Rgbw Decorative Light
- Smart Tunnel Light
- solar courtyard lamp
- solar courtyard light
- Solar LED Road Light
- Solar Street Light For 10 Meter Pole
- Solar Street Light For 12 Meter Pole
- Solar Street Light For 6 Meter Pole
- Solar Street Light For 8 Meter Pole
- Split Type Solar Flood Light
- Sporting Projector
- Stadium Led Projector
- Street Lighting Post